Backlit LED mirror wiring: the RCP-to-as-built handoff checklist for Bangalore electricians
A backlit LED mirror arrives on-site in Whitefield, the plumber has already tiled to the grout line, and the electrician discovers the concealed outlet sits 40mm too low—below the mirror's rear housing. The mirror goes back into its crate, the tile comes off, and the chase gets re-cut. This scenario repeats on enough Bangalore projects that it's worth codifying the handoff: RCP markup to as-built outlet, with dimensions locked before the first tile is laid. The coordination window is narrow, but the sequence is repeatable.
Why LED mirrors demand early electrical coordination
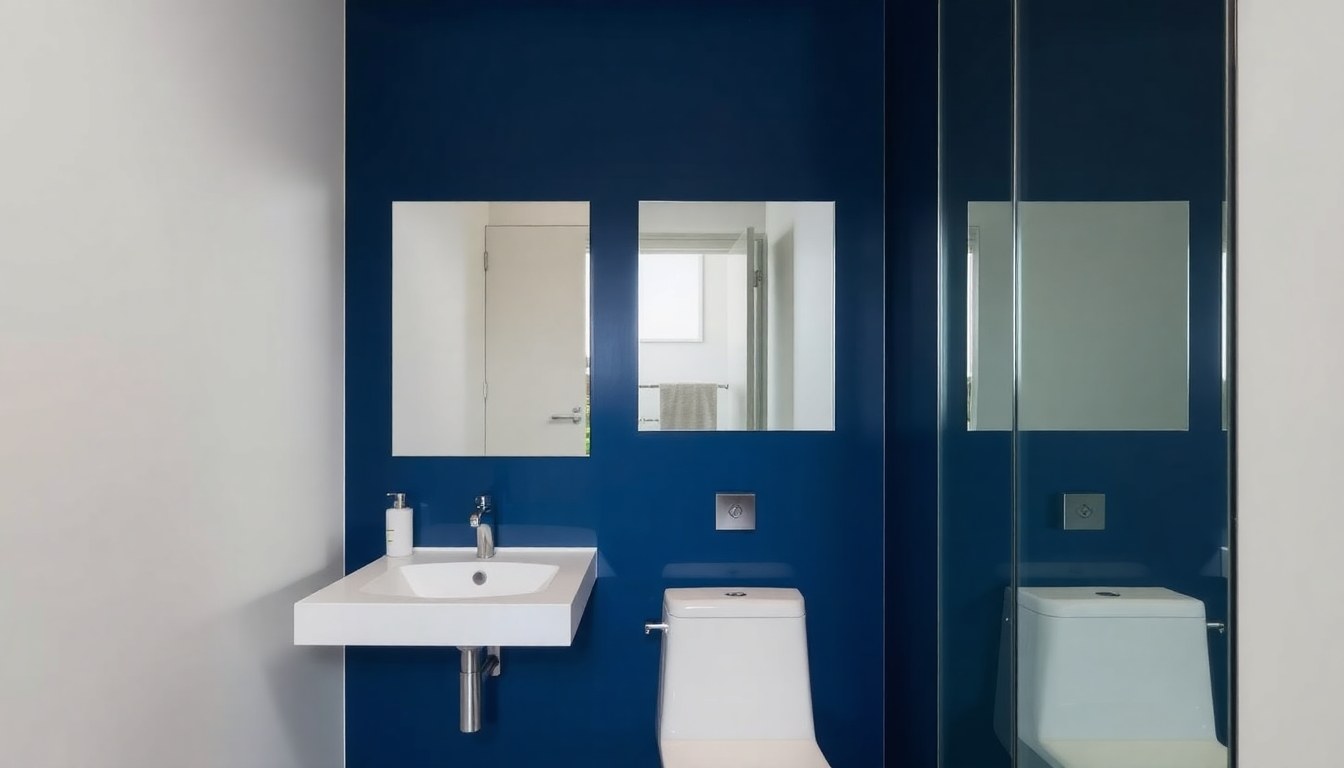
Unlike a surface-mounted vanity light with visible conduit, a backlit mirror conceals its driver and wiring entirely behind the mirror body. The 230V inlet—typically a two-pin socket or hardwired flex—must land within a 50mm vertical tolerance zone, usually 1500mm to 1600mm above finished floor level, depending on mirror height. If the outlet drifts outside that zone, the mirror won't mount flush, the driver housing fouls the wall, or the cord stretches visibly at the edge. There's no field adjustment: the mirror is factory-finished, the driver is potted, and the inlet position is fixed.
This makes the RCP the critical document. The reflected ceiling plan already shows recessed downlights and exhaust-fan locations; adding the mirror outlet—and its switch—requires the same discipline. Mark the outlet centroid, specify chase depth (usually 35mm for a standard concealed box), and call out the finished-floor reference level. If the floor screed is still speculative, reference the structural slab and add the delta. Bangalore projects with vitrified-tile flooring typically add 12mm tile plus 3mm adhesive bed; that 15mm matters when you're holding a 50mm tolerance.
RCP markup: outlet height, switch location, and the centroid dimension
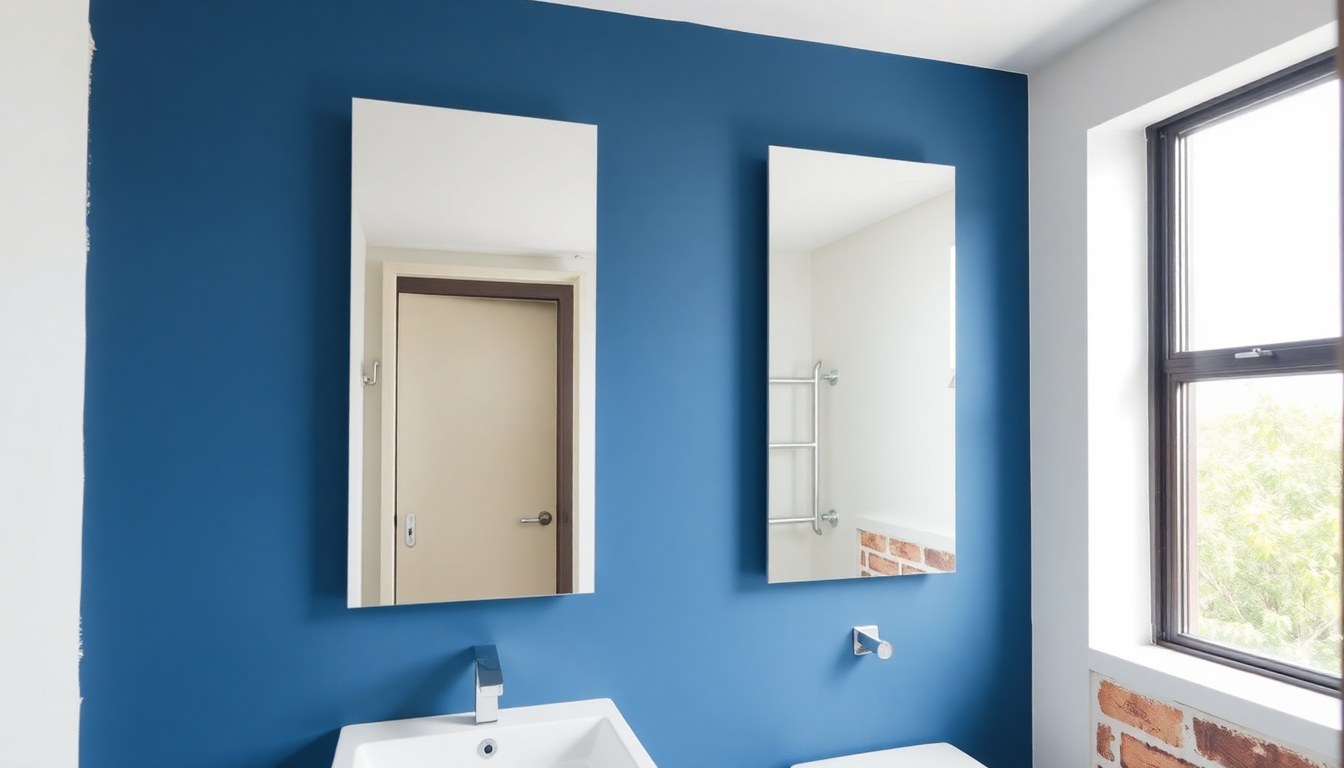
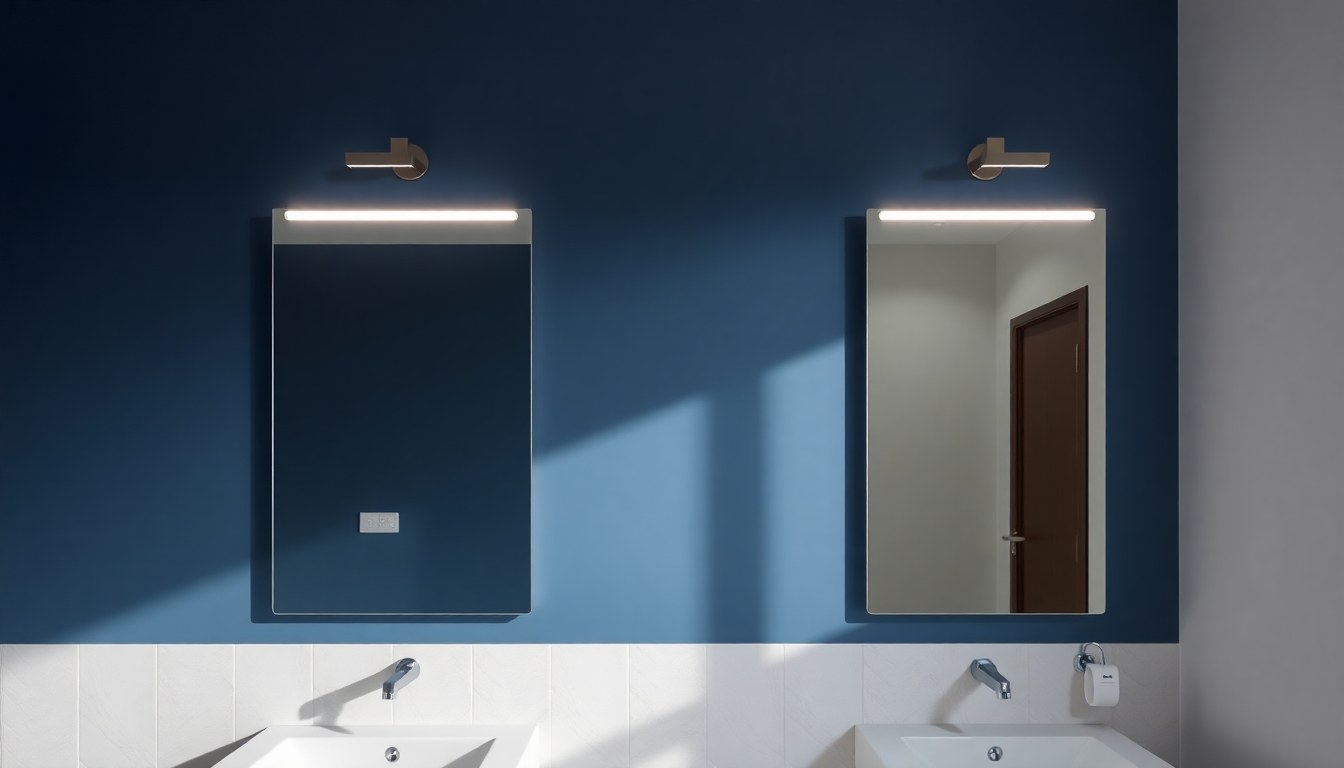
Start with the mirror's mounting height. Most backlit rectangular LED mirrors in Bangalore residential bathrooms hang with their top edge between 1900mm and 2000mm above finished floor, placing the centre around 1600mm to 1700mm. The concealed outlet should land 50mm below the mirror's vertical centroid, typically 1550mm to 1650mm, so the inlet flex has a short, concealed run upward into the driver cavity. This isn't arbitrary: it keeps the cord inside the mirror's shadow and avoids a visible loop if the mirror ever needs removal for maintenance.
Next, locate the switch. LED mirrors draw 15W to 40W depending on strip length and colour temperature, so a 6A switch is adequate. The switch should sit outside the wet zone—IS 2553 calls for 600mm horizontal clearance from the shower rose—but within arm's reach of the vanity. In a typical 1800mm-wide Koramangala bathroom, that means 300mm to 400mm to the side of the mirror, at standard switch height (1200mm above finished floor). Mark it on the RCP with a leader line to the outlet, so the electrician understands the two are part of one circuit.
Centroid versus top-edge reference
Some electricians prefer to dimension from the mirror's top edge ("150mm below top") rather than from the centroid. This works if the mirror height is fixed early, but it breaks if the client switches from a 600mm-tall mirror to a 900mm-tall one during the finishes phase. Dimensioning from the centroid—or better, from finished floor level—keeps the outlet position stable even if the mirror spec changes. Include both dimensions on the shop drawing if you want redundancy, but make finished-floor level the primary reference.
Chase depth and wall build-up: the 35mm rule
A standard concealed electrical box in Bangalore—whether metal or PVC—requires a 35mm recess behind the tile plane. If you're working with a 100mm AAC block wall, that leaves 65mm of block depth behind the box, which is adequate. But if the wall is a 75mm metal-stud partition with 12.5mm cement board on each face, you're starting with only 50mm cavity depth. Add the box, and you're tight. The solution: specify a shallow concealed box (25mm depth) or plan for a slight furring on the mirror side of the wall to accommodate the standard 35mm box without breaking through the back face.
Tile build-up adds another variable. Vitrified tile in a Jayanagar apartment is typically 10mm to 12mm thick, laid on a 3mm adhesive bed—15mm total. Marble or stone can be 18mm to 20mm. If the RCP was drawn before the tile spec was final, the electrician may have chased to the wrong datum. The fix: call out "above finished tile surface" on the RCP, not "above structural wall." This forces the electrician to wait for the tile spec—or at least the tile thickness—before cutting the chase.
The as-built dimension check: 48 hours before mirror delivery
Once the tile is laid and grouted, measure the outlet height from finished floor to the centre of the socket. Use a laser level if the floor isn't perfectly flat—common in Bangalore bathrooms where the screed slopes 1:100 toward the floor drain. The measurement should match the shop drawing within ±10mm. If it's outside that tolerance, flag it immediately. A 20mm error might still be absorbable if the mirror hasn't shipped; a 40mm error requires re-work.
At the same time, check the outlet's horizontal position. The socket should sit on the mirror's vertical centreline, ±25mm. If the mirror is 800mm wide and centred on the vanity, the outlet should be 400mm from the vanity's left edge (plus half the vanity's offset from the wall, if any). This matters for capsule-profile LED mirrors, where the driver housing is narrower than the mirror face and off-centre placement can push the inlet flex into visible territory.
What to do if the outlet is out of tolerance
If the outlet is 30mm to 50mm low, and the mirror hasn't been fabricated yet, you can sometimes request a custom inlet position from the manufacturer—though this adds lead time. If the mirror is already in transit, the only field fix is to sister a new outlet at the correct height and abandon the original. This requires cutting a second chase, which is straightforward in un-tiled drywall but painful in finished vitrified tile. The tile will need to be locally removed, the chase cut, the box installed, and a matching tile patch grouted in. Budget half a day and expect a visible joint line unless you have leftover tiles from the same lot.
Switch wiring: three-wire versus two-wire, and the neutral question
Most backlit LED mirrors ship with an integrated driver that expects 230V AC live and neutral. The switch interrupts the live conductor, exactly like a ceiling light. This is a two-wire switch circuit (live and neutral at the fixture, switched live from the switch). But some Bangalore electricians still wire switches with only a live loop, omitting the neutral at the switch box. This works for incandescent bulbs but can cause issues with LED drivers that need a neutral reference for their internal rectifier.
To avoid ambiguity, specify a three-wire run on the shop drawing: live (red), neutral (black), and earth (green-yellow) from the distribution board to the mirror outlet, with a two-wire switched-live loop (red and blue) from the outlet to the switch. The switch interrupts the red live; the black neutral remains unbroken. This topology works with any LED driver and simplifies future retrofits if the client ever wants a motion sensor or dimmer.
Dimming and colour-temperature switching
If the mirror has a two-channel driver—one for warm white (3000K), one for cool white (6000K)—you'll need a two-gang switch or a single momentary switch that cycles through modes. The wiring is still 230V AC, but the driver interprets repeated power interruptions as mode-change commands. This is common on premium designer LED mirrors in Indiranagar and Sadashivanagar projects. Mark the switch type on the electrical schedule so the electrician doesn't install a standard rocker by default.
Handover documentation: as-built outlet coordinates for the punch list
At handover, the electrical contractor should provide as-built dimensions for every concealed outlet, measured from two fixed references—typically the corner of the room and the finished floor. For the LED mirror outlet, record the height above finished floor, the horizontal offset from the left wall, and the horizontal offset from the back wall. These three dimensions let the mirror installer verify the outlet position without re-measuring the entire room. If the outlet is within tolerance, the mirror mounts in 20 minutes. If it's not, you know before the installer opens the crate.
Include a photograph of the outlet with a tape measure in frame, showing the height dimension. This sounds pedantic, but it resolves disputes. If the architect's punch list says "outlet at 1580mm" and the electrician's as-built says "1620mm," the photograph settles it. Bangalore projects with tight handover schedules—common in Whitefield and Electronic City, where clients want to move in before the next rent cycle—benefit from this level of documentation. It turns a potential two-day rework into a 30-minute confirmation.
Questions architects ask
Can I use a standard 6A socket, or does the mirror need a dedicated outlet?
A standard 6A concealed socket works fine for mirrors drawing up to 40W. You don't need a dedicated circuit unless the bathroom has multiple high-draw fixtures (heated towel rail, exhaust fan with heater) on the same ring. The mirror's plug should be a two-pin or three-pin 6A plug, matching the socket. Some architects prefer a hardwired connection with a flex outlet instead of a plug-and-socket, which is cleaner but makes mirror removal slightly harder. Either is acceptable; just specify it on the shop drawing so the electrician brings the right components.
What if the client hasn't chosen the mirror yet, but we're already tiling?
Provision the outlet at 1600mm above finished floor, centred on the vanity's width, and make sure the switch is 300mm to the side at 1200mm height. This covers 90% of standard mirror installations in Bangalore bathrooms. If the client later chooses a taller or shorter mirror, the outlet will still land within the driver cavity's tolerance zone. The risk is horizontal misalignment if the vanity width changes, but that's less common once the plumbing rough-in is done.
How much chase depth do I need if the wall is a metal-stud partition?
A 75mm metal-stud wall with 12.5mm cement board on each face gives you 50mm cavity depth. A standard concealed box is 35mm deep, leaving 15mm clearance behind the box—tight but workable. If you're worried about the box pressing against the back board, specify a 25mm shallow box or fur out the mirror-side board by 10mm. The furring is invisible once the mirror is mounted, and it gives the electrician room to work without stressing the stud frame.
Should the outlet be on the same circuit as the bathroom downlights, or separate?
Either works, but a separate circuit simplifies switching. If the mirror is on the downlight circuit, turning off the main bathroom light also kills the mirror, which is annoying during evening routines. A dedicated mirror circuit—often combined with the vanity downlight or a small recessed fixture above the sink—lets the client control the mirror independently. This is standard practice in Koramangala and HSR Layout projects where the bathroom has layered lighting: general downlights, mirror backlight, and a shower niche accent. Three circuits, three switches, no compromise.
What's the lead time if I need to move the outlet after the tile is laid?
Plan on one day to cut the tile, re-chase the wall, install a new box, patch the old chase, and re-tile. If you have spare tiles from the original lot and a skilled tiler, the joint line will be nearly invisible. If you're pulling tiles from a different lot or a different production run, expect a slight colour or calibration mismatch. The faster path: confirm the outlet position during the electrical rough-in, before any tile goes up. Measure twice, chase once.
Spec a Bathqube LED mirror for your next Bangalore residential project and request a wiring coordination drawing with your quote. We'll provide the outlet height, switch location, and chase depth so your electrical contractor has the dimensions before the first tile is laid.